“Properties by Category” Pages are also known as Saved Search Page, 1-click Searches, HotSheets, Niche Market Pages.
This is exactly what it sounds like, you perform a specific search within your MLS, and then save & show the results all together on one page of your website.
The reasons you would have them is to make it easier for your clients to find a specific set of properties, to establish yourself as an expert in those property types, and most importantly, for search engines to find those same properties, and thus consider you an expert in that property type as well.
A search engine will reward you for having a page dedicated to a matching search phrase. So if you have a niche set of listings, and someone searches for that exact niche, you will come up way before another site that doesn’t offer a dedicated page of those listings.
What are some examples?
In my town, we are on a small island and have heavy tourism; vacation homes are more common than year-round homes. So, when we build a website for an agent here, we make sure to showcase the types of listings they specialize in.
It might be “8+ bedroom mansions located only on the oceanfront”, or it might be “affordable, smaller homes on the sound-side, or in a specific neighborhood”.
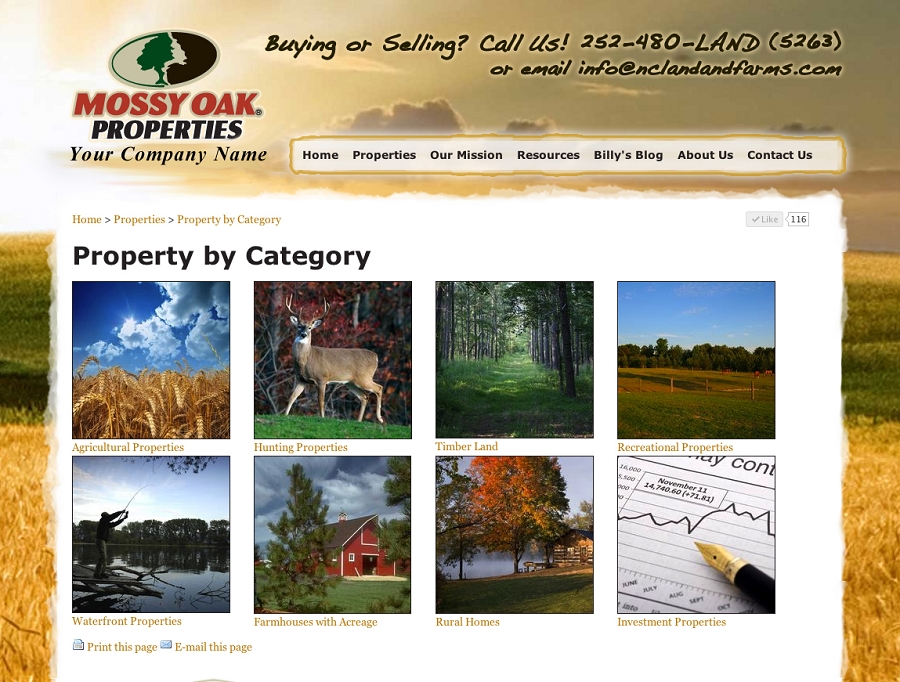
For our Mossy Oak Properties’ websites, the fields more likely look like “Land Bordering Government Lands”, “Owner Financed Land”, “50+ acres Wooded Tracts in Lawrence County” or “Large Parcels with Mineral Rights”. Whatever niches you want to offer to your clients and to the search engines, for your future clients.
How are they configured?
The way we set these up varies. You don’t need to worry about the details as we will set them up for you. All you need to do is tell us what types of properties you want to make available on your site.
You can fields like these to narrow down the list of matching properties:
- City or County
- Subdivision, Area/Region
- Min and Max Prices
- Min and Max Beds and/or Baths
- Square Footage
- Lot Size/Acreage
- # days on market
- Special views: golf course, valley, mountains, wooded, water, etc.
- Exterior features like barns, or outbuildings, fencing, or a well
- Mineral rights, water rights, etc.
- Deed restrictions or easements or forest service acess
- Topography
- Zoning
Sometimes you may know you want to showcase, for example, Deer Hunting Properties, but maybe your MLS does not have a specific field in property listings just for “Deer Hunting” listings. So we might be able to find a set of available options that, when selected together, tends to show Deer Hunting Listings. You know your location and niche markets best, so you can let us know to set up a page and limit the results to listings with (for example): more than 5 acres, with all unimproved land, with mountain view, in a specific location/area, with no buildings.
What if no amount of filtering will get the listings you want to showcase?
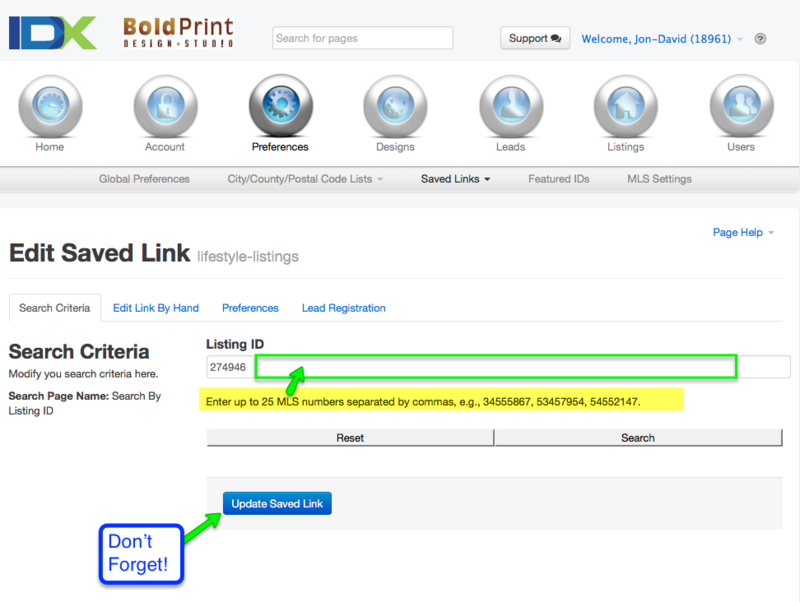
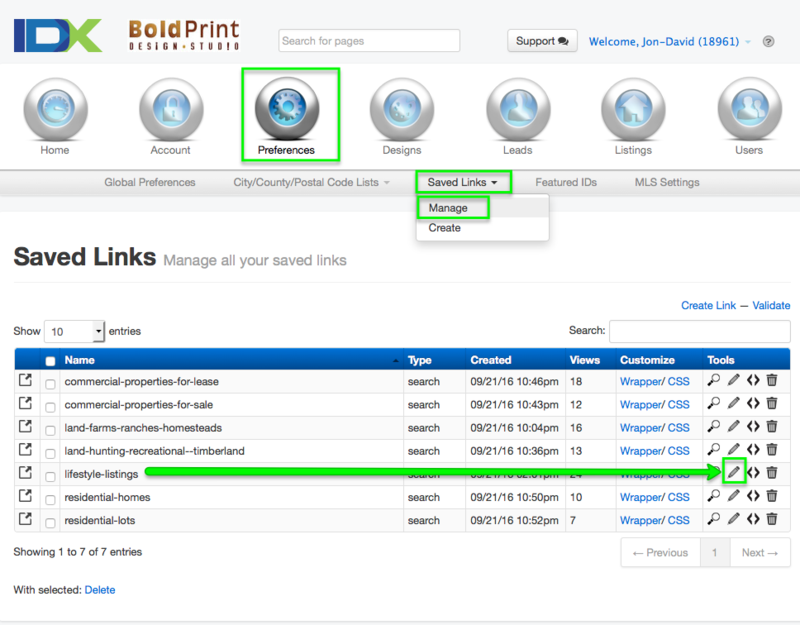
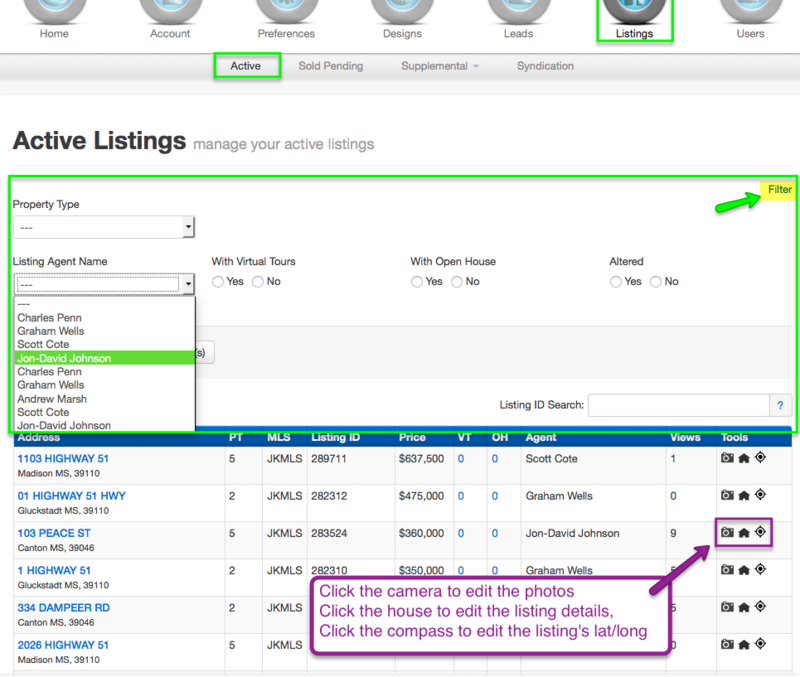
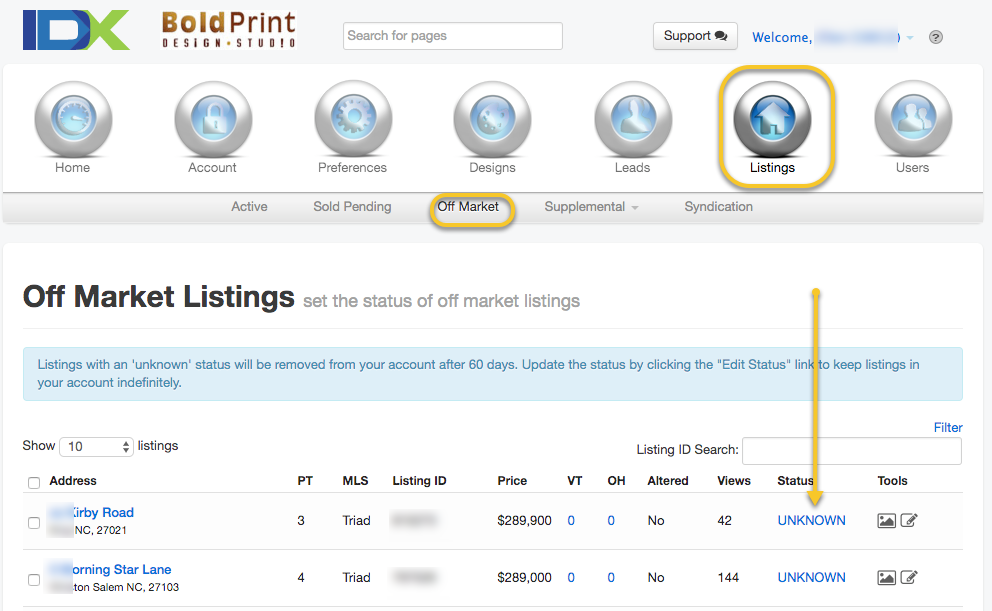
Another option is also to make “hand-picked” Property Category pages. We will create a page for any niche and populate it with a specific list of MLS#s. As listings sell or come off-market, they are removed from the page. You would need to add new listings (by pasting in new MLS #s) from time to time, to keep the page from being empty when all existing listings on the page have sold. Here is an article about adding a specific set of properties to a category page, by MLS#.
We do try to keep the websites as automated as possible, without you needing to do anything to keep the site running and fresh, but sometimes an extra step in worth it to attract the best potential buyers.
.
Find out more and/or order here:


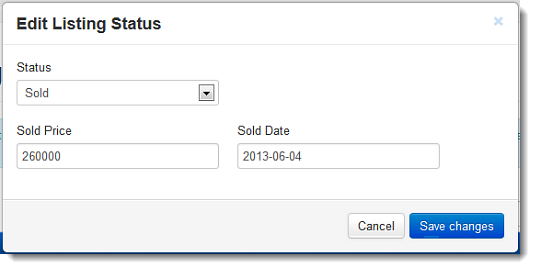
 This could include listings that are sold OR pending, cancelled, expired, or just “Off Market”.