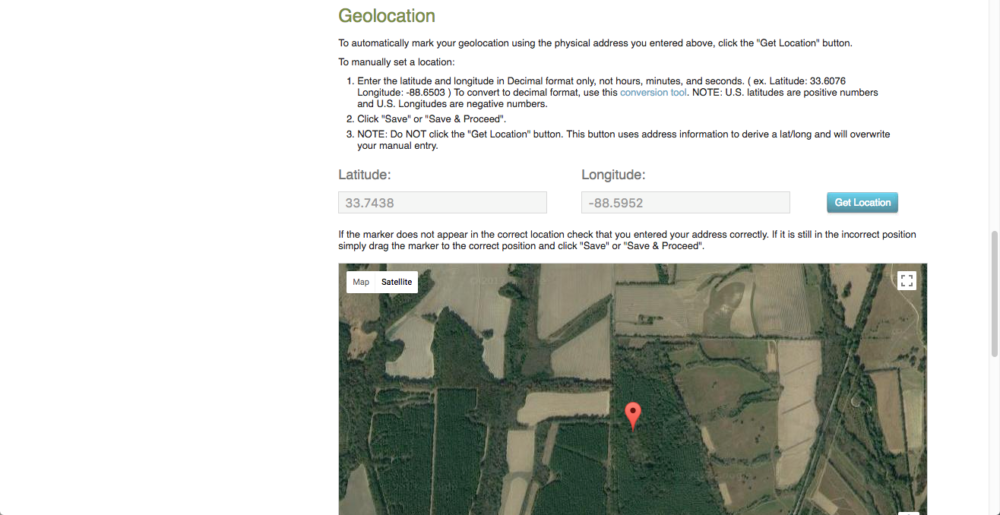
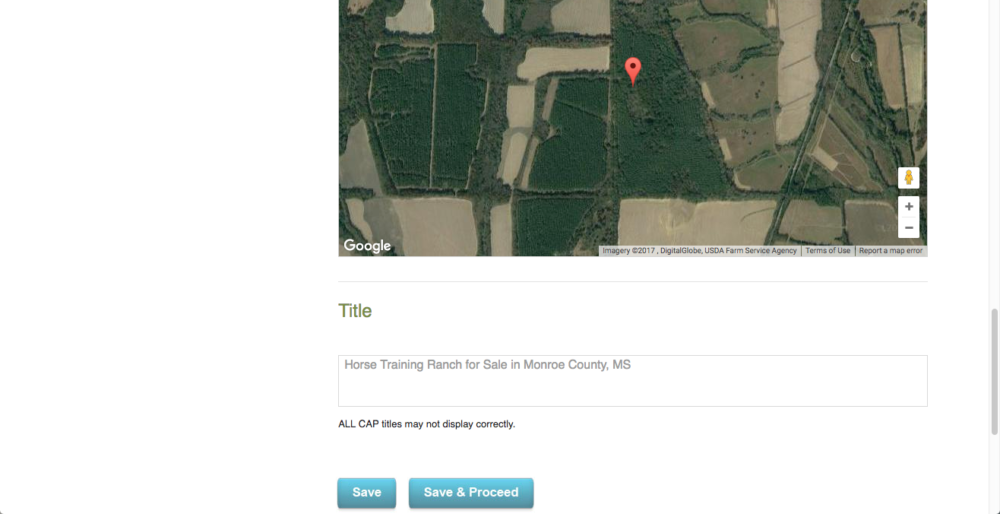
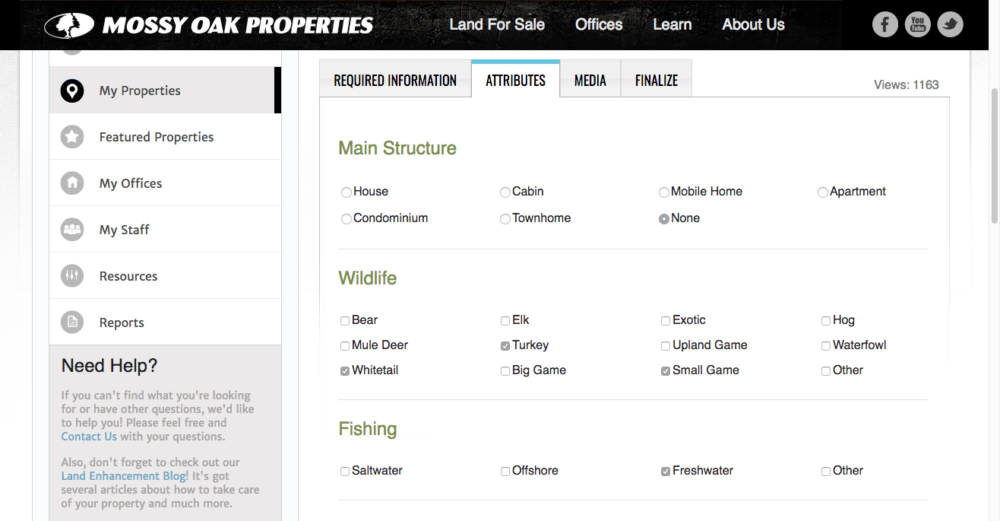
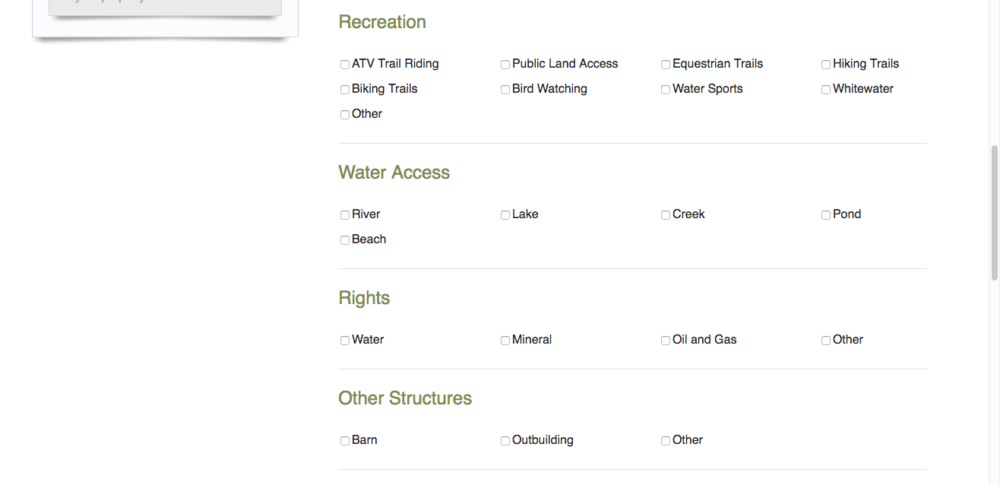






The website software will select all images that are large enough for your slideshow dimensions and add them to the slideshow for you. It will also create a title for the slideshow image based on the property title. And, all images will automatically link to the listing that the image is from, so site visitors can click on any image they like, and it will bring them right to the listing.
While the automatic slideshow creation is helpful if you would like less maintenance on your website, sometimes you might want to control which images show and even what order. This system allows you to do just that.
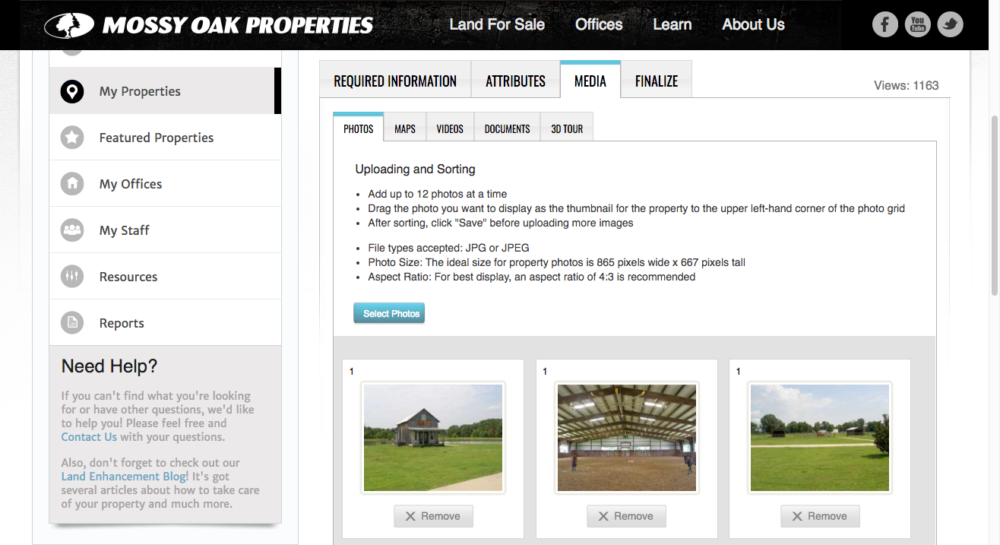
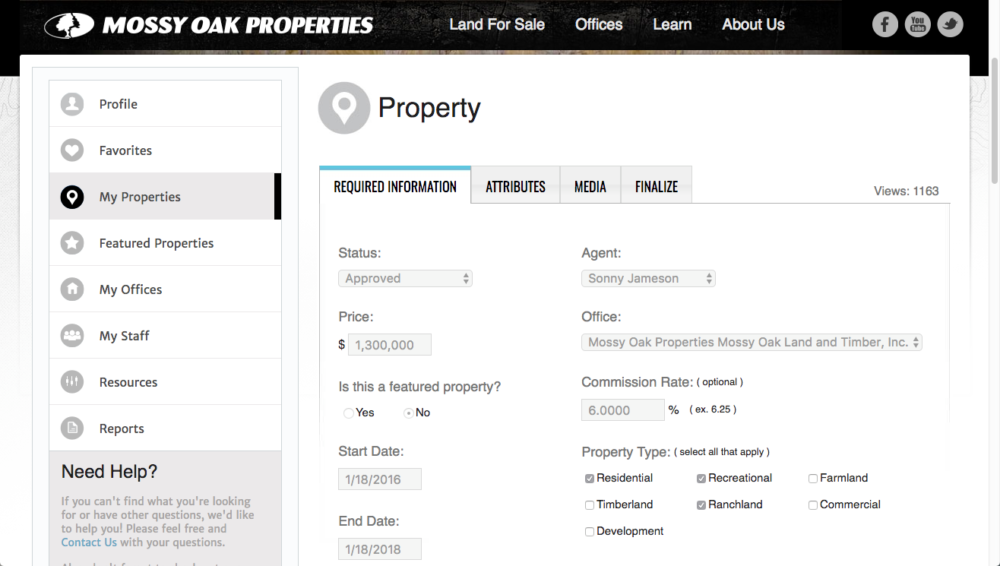
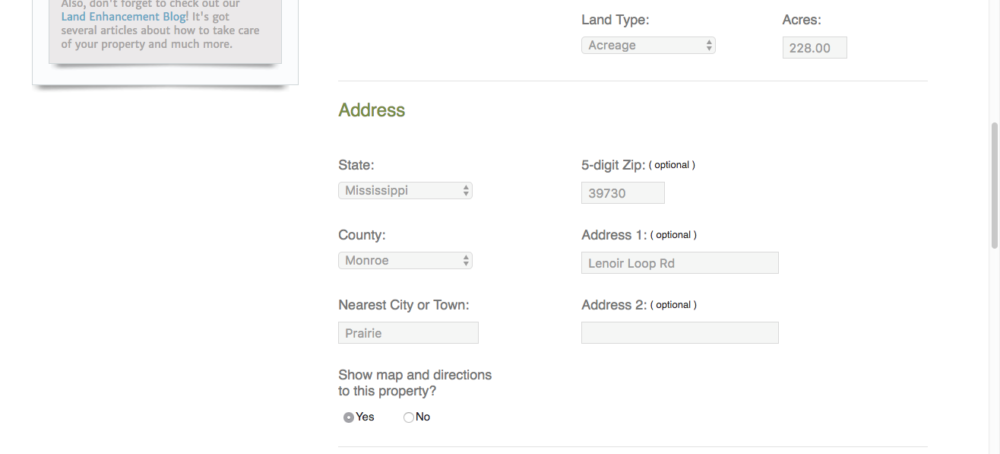
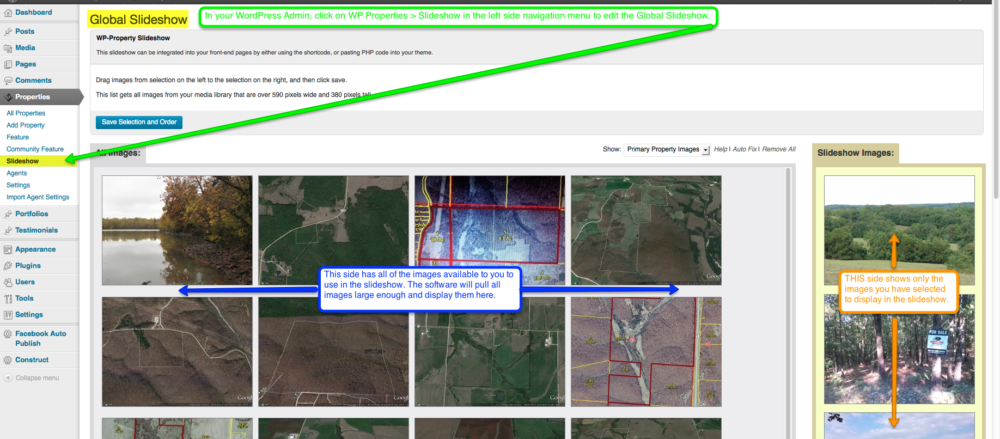
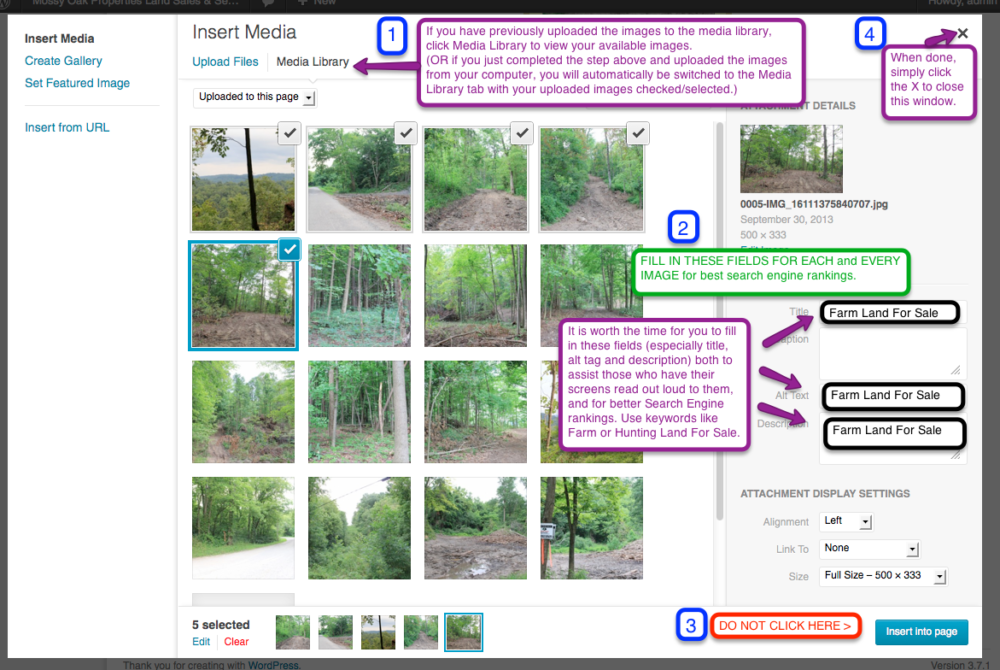
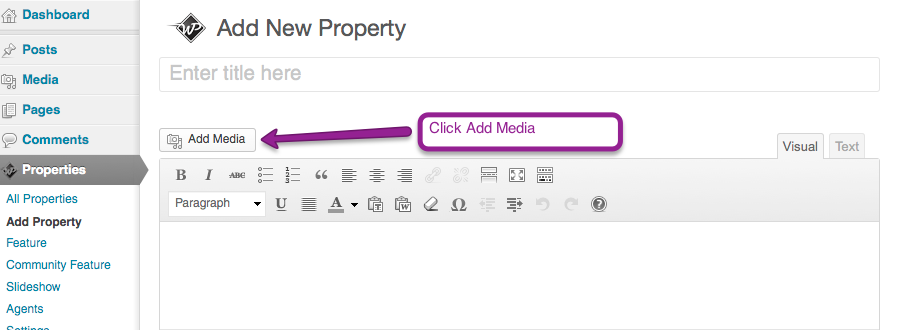
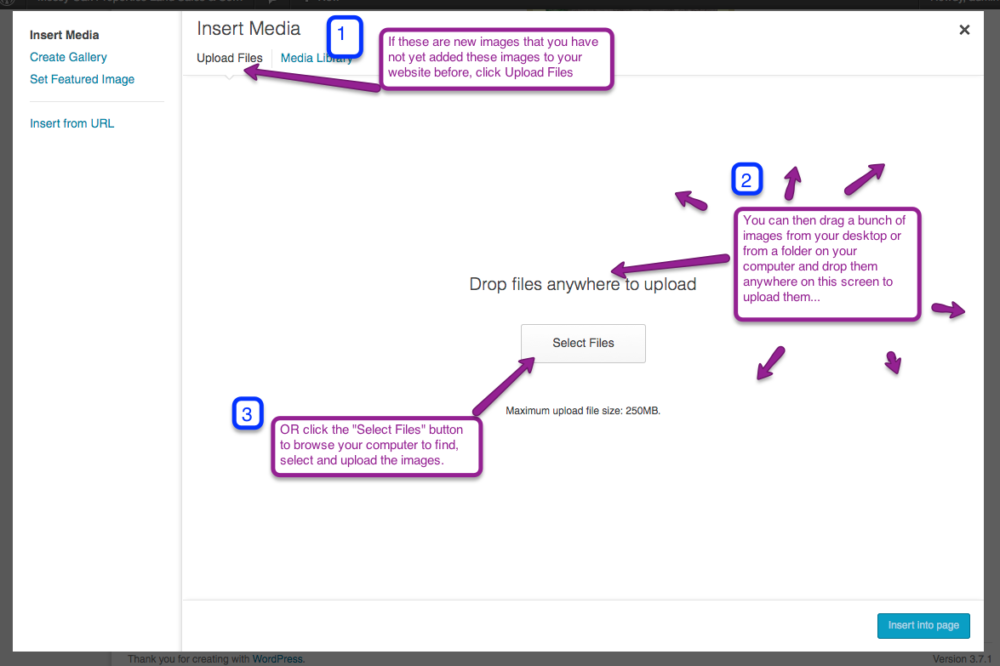
Follow the directions in the images to see how to modify the slideshow.

If you would like to change what images you have to select from in the left side:

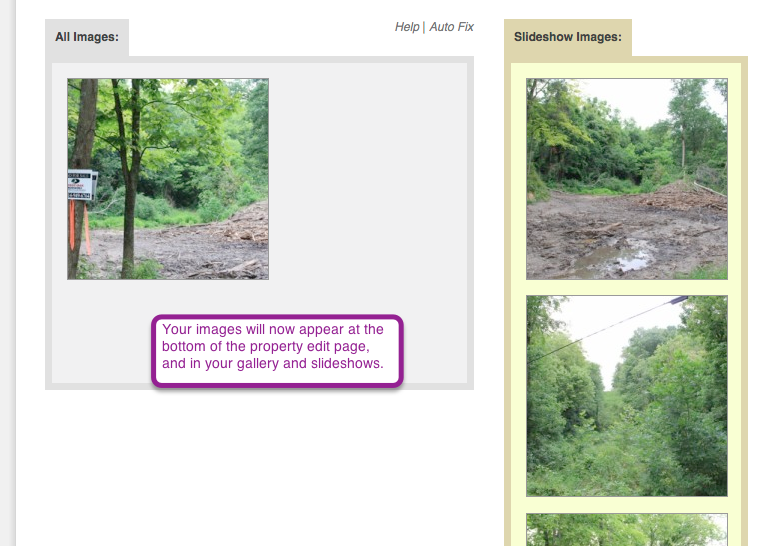
Once you have determined which images will be in the left side box as options for your slideshow, next you can determine which images of these you will actually include in the slideshow.
The easiest way is to simply click “Auto Fix” (seen in the above image) which will move all images that are too small to the left box (so they will not appear in the slideshow) and moves all images that ARE large enough into the right-side gold colored box, and these images will show in the slideshow.
Another tool is the “Remove All” link (also seen in the above image) which will move ALL images from the gold Slideshow Images box on the right, to the All Images box on the left. This will leave your slideshow empty, so after you do this you will want to manually move some images into the gold box in order to have images display in the slideshow.
Whether starting from empty after clicking “Remove All” or starting with some images already in the gold Slideshow box, you can add more images to the Slideshow by simply clicking on an image in the left side box and dragging it to the gold box on this page. You can also drag and drop the images in the gold box UP and DOWN to rearrange them.

And most importantly:


If you do not know the exact latitude and longitude of your listing, you can find it on Google Maps.
Here is how:

Optional – Click the coordinates for more information about the area, or for both versions of the coordinates.


Your website may not look exactly like the one in the images, however the general directions still apply to you.